How To Install WordPress Themes: A Beginner's Guide
Themes provide WordPress website owners seemingly endless opportunities to customize their sites. Some themes give users a basic outline for a website while others provide robust page and post templates. All website owners should choose a theme that’ll help them meet their business and website goals.
Whether you need to install a WordPress theme for the first time or simply want to refresh your website with a new theme, we’ve got you covered. In this article, you’ll learn how to install a WordPress theme from the WordPress repository and from external theme marketplaces. We’ll show you how to search for, install, and configure popular free and premium WordPress themes.
Recommended: With a subscription to Envato you gain access to hundreds of premium, easy-to-install themes for WordPress. Check out an Envato free trial to get started.
How To Install a Theme From the WordPress Repository
If you’re installing a theme for the first time — or looking to change your site’s theme — you should first check out the free themes available from the WordPress repository. This WordPress theme directory houses thousands of free, compatible themes you can easily install on your website.
Changing themes isn’t always seamless. If you use Bluehost as your web host, we recommend activating the Bluehost “Coming Soon” feature before changing your theme. Visit the “Bluehost” section of the WordPress admin dashboard and click the “Restore Coming Soon” button.
If you don’t use Bluehost, we recommend installing a plugin like WP Maintenance Mode to use while making changes to your theme.
Still need a place to host your WordPress website?
Bluehost offers easy access to ways to connect plugins and themes to better manage your WordPress site. Click the button below to get host your domain free for the first year with Bluehost.
How To Install a Free WordPress Theme
- From the WordPress admin panel, select “Appearance” and then “Themes.”
![WordPress themes search bar.]()
- Select “WordPress.org Themes” to explore free themes. Or, if you’re a Bluehost user, select “Premium Themes” to purchase paid themes sold by Bluehost.
- Browse the various themes listed to find one you’d like to use for your website. You can enter search terms in the search box to look for a specific theme or type of theme.
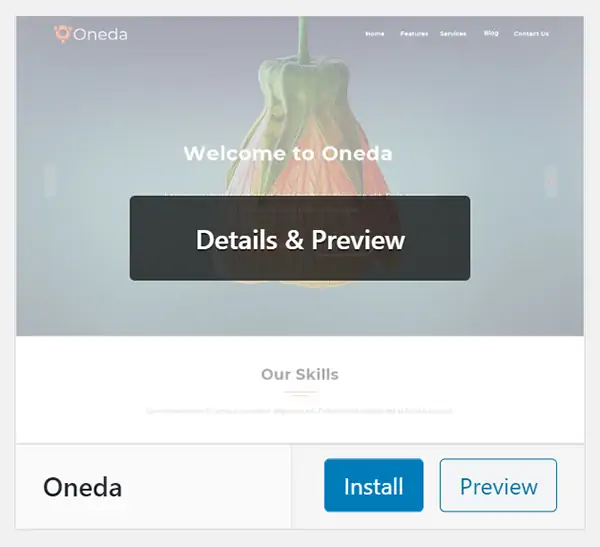
- Click the “Preview” button or the “Details & Preview” button to read more information about the theme and access sample pages.
![WordPress Oneda theme Details & Preview.]()
- Once you select a theme, click the “Install” button.
- After the theme finishes its installation process, click the “Activate” button to make it live. You also can click the “Live Preview” button to see how the theme will look with the content you’ve already created (e.g., pages, posts, etc.).
![WordPress Hestia activate or live preview.]()


If you’re new to web design, consider installing a theme that includes a number of page and post templates. This will make designing and launching your website much easier.
Now, we'll walk you through how to connect several popular free Wordpress themes.
How to Install and Configure the Hestia WordPress Theme
- From the WordPress admin panel, select “Appearance” and then “Themes.”
- Select “WordPress.org Themes” to explore free themes.
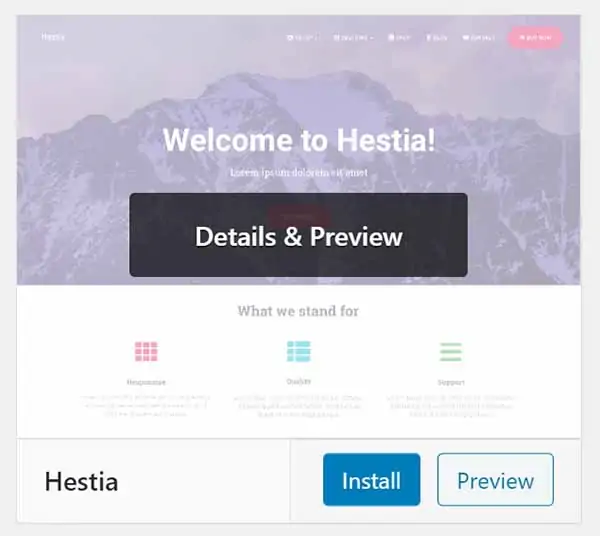
- Enter “Hestia” into the search field.
![WordPress Hestia theme Details & Preview.]()
- Click the “Install” button.
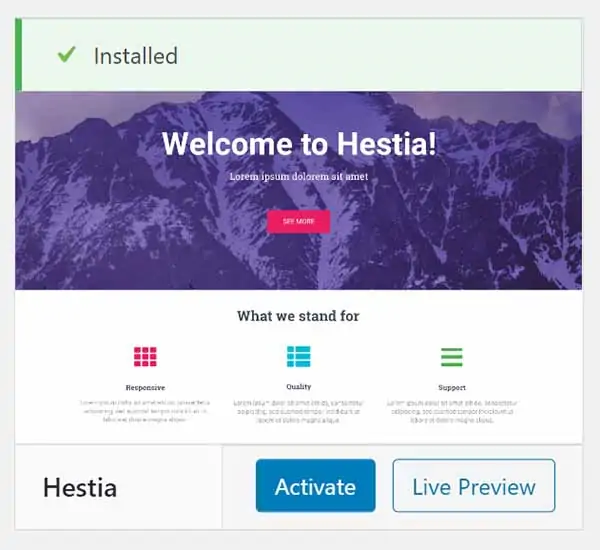
- After the installation process finishes, click the “Activate” button.
![WordPress Hestia theme installed.]()
Configuring the Hestia Theme
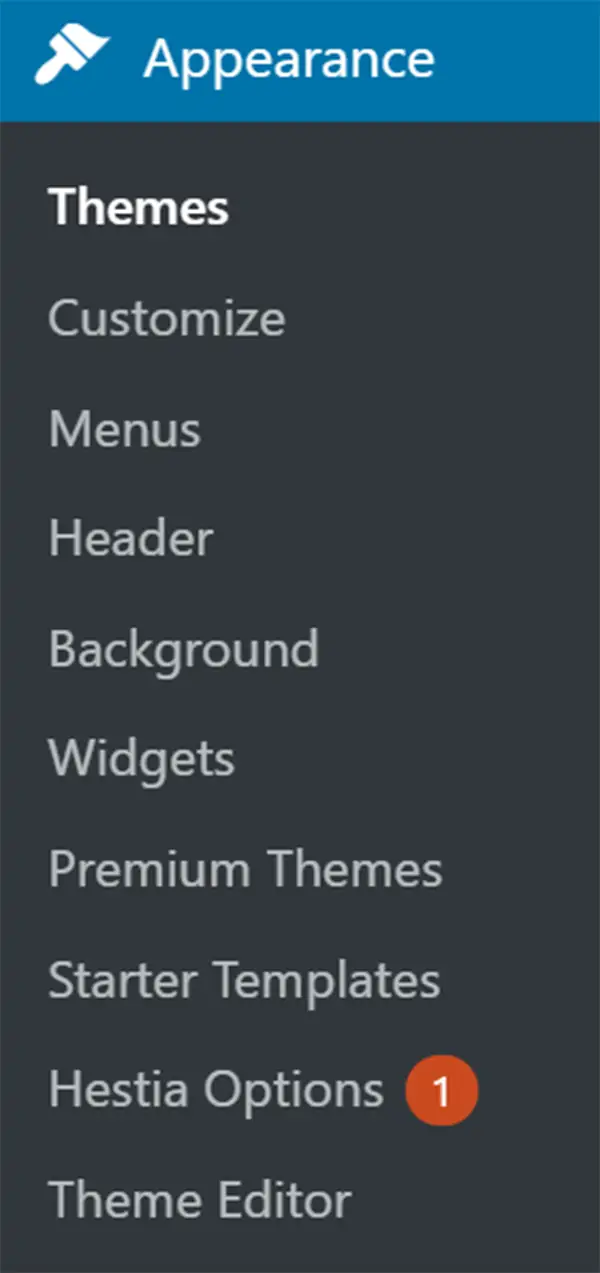
After you install and activate the Hestia theme, click “Appearance” and then “Hestia Options” to begin configuring this theme for your website.
You will then arrive at the Hestia theme dashboard. From the dashboard, you can access these six tabs to help you as you configure the Hestia theme:
- Getting Started: This default tab provides helpful links to other tabs and the WordPress Customizer.
- Recommended Actions: This tab includes suggestions to enhance your user experience while working with this theme.
- Useful Plugins: This tab includes a list of plugins the Hestia theme creators think you might find useful.
- Support: If you have trouble using the Hestia theme, click the “Support” tab for more information.
- Changelog: If you’re interested in learning about changes to the theme’s code, click this tab.
- Free vs. PRO: If you’re wondering about the differences between the free and professional versions of this theme, click this tab.
In addition, the right sidebar contains links to a Hestia Facebook group and a place to leave a review of the theme.
Installing Hestia Page Templates
To install page templates from the Hestia theme, click the “Recommended Actions” tab within the Hestia dashboard.
- Enter “Hestia” into the search field.
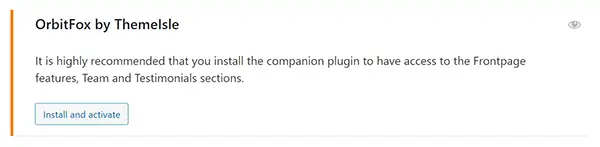
- Look for “OrbitFox by ThemeIsle.”
![WordPress OrbitFox by Themelsle install and activate.]()
- Click the “Install and activate” button.
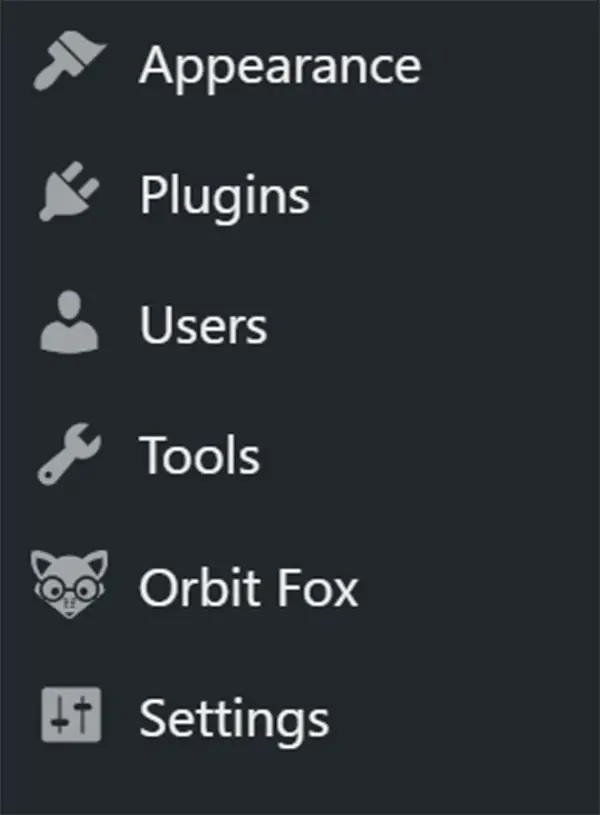
- After the plugin finishes installing, click the “Orbit Fox” option on the WordPress dashboard.
![WordPress OrbitFox in dashboard panel.]()
- Under “General Settings,” you’ll find links to a variety of modules you can activate and deactivate. In addition, you’ll see a list of plugins suggested by Orbit Fox.
- Under “Template Directory,” you’ll find a library of page templates you can install and activate.
- Once you find a template you want to install, click the “More Details” button to view a larger version of that template.
- If you’re ready to import the page template, click the “Import” or “Install and Import” button.
Once you install your theme, you’ll want to upload your logo, change the color scheme to fit your brand, and more. Read our How To Use WordPress article for full details.
You also can access the Hestia theme’s documentation for more information about customizing its page templates.
How to Install and Configure the Astra WordPress Theme
One of the most popular WordPress themes available, Astra is fully customizable and can suit most any small business. Whether you want to house your personal portfolio, start a blog, or even connect ecommerce capabilities, Astra can provide this for you.
To Install the Astra WordPress Theme:
- From the WordPress admin panel, select “Appearance” and then “Themes.”
- Select “WordPress.org Themes” to explore free themes.
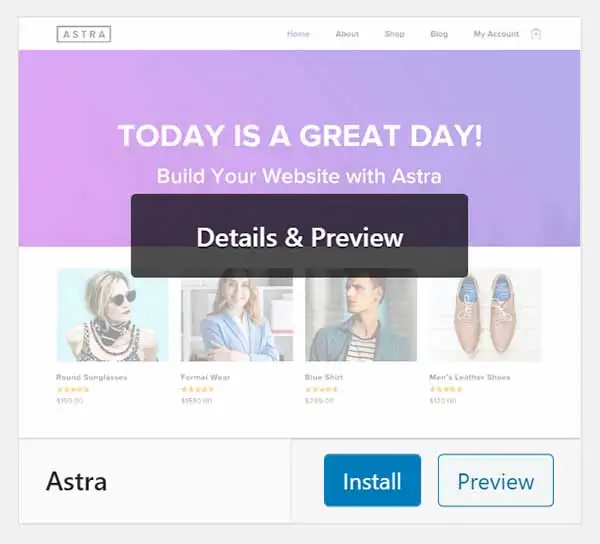
- Enter “Astra” into the search field.
![WordPress Astra theme Details & Preview.]()
- Click the “Install” button.
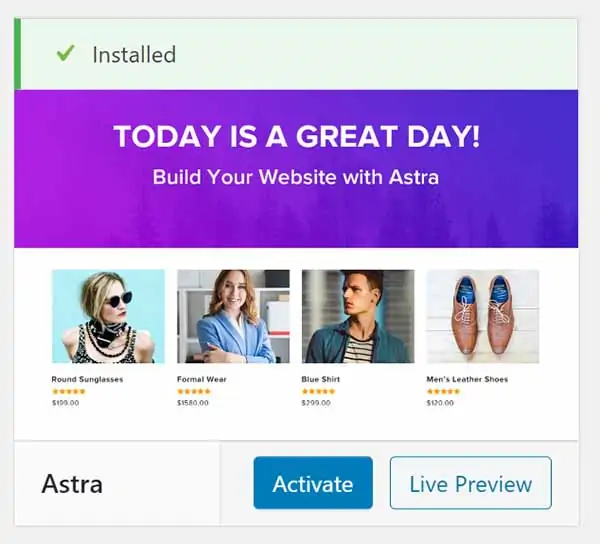
- After the installation process finishes, click the “Activate” button.
![WordPress Astra theme installed.]()
Configuring the Astra Theme
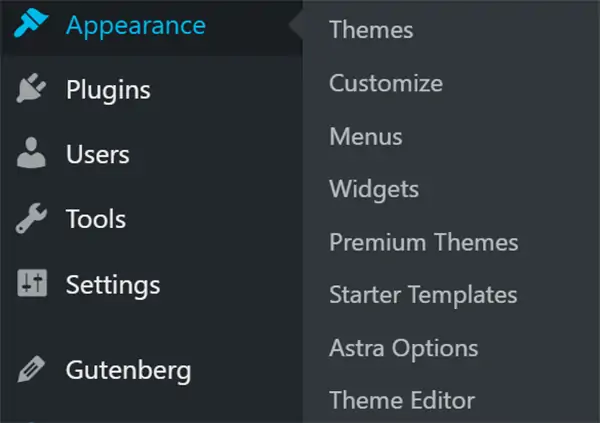
After you install and activate the Astra theme, click “Appearance” and then “Astra Options” to begin configuring this theme for your website.
This will then open the Astra dashboard, shown here:
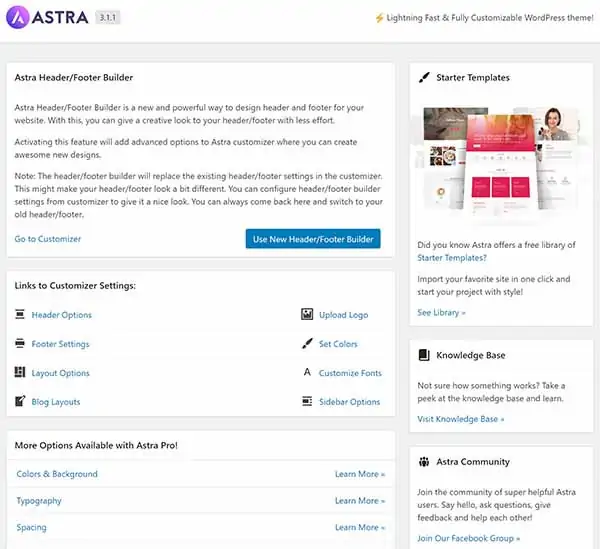
From the Astra dashboard, you can:
- Access links to common WordPress Customizer options, such as updating the header or footer, uploading a logo, setting your website’s colors, and changing your website’s default fonts.
- Activate the Astra Header/Footer Builder within the WordPress Customizer.
- Link to the Astra knowledge base and Facebook group.
- Learn about Astra page templates (see below for installation instructions).
Installing Astra Page Templates
To install page templates from the Astra theme, click “Plugins” and then “Add New” from the WordPress dashboard.
- Enter “Astra” into the search field.
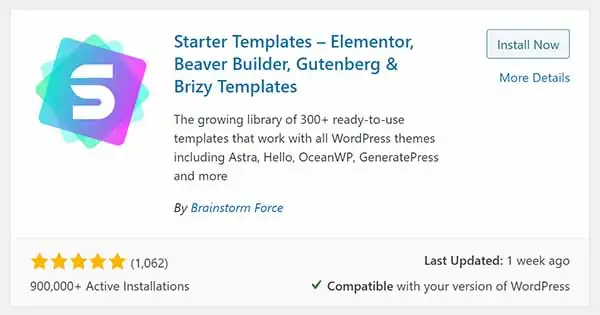
- Look for “Starter Templates - Elementor, Beaver Builder, Gutenberg & Brizy Templates.”
![WordPress Starter Templates - Elementor, Beaver Builder, Gutenberg, & Brizy Templates plugin.]()
- Click the “Install Now” button.
- After the plugin finishes installing, click the “Activate” button.
- Once you activate this plugin, you’ll return to the “Plugins” section of the WordPress dashboard.
- Look for the “Starter Templates” plugin and click the “See Library” link.
![WordPress Starter Templates plugin installed.]()
- You’ll then see a prompt, asking you to choose a page builder. For the purposes of this tutorial, we’ll use WordPress’s own page builder: “Gutenberg.”
- After selecting your page builder, several premade templates will appear. You can use these to start building (or updating) your website.
- Once you find a template you want to install, you can either click the “Import Complete Site” link to install all the pages within the template or the “Import ‘Home’ Template” link to only install the homepage. (If you choose the latter option, you’ll have to create your other pages from scratch or with another template.)
- Click the “Import” button.
- Enter your contact information.
- Click the “Submit and Start Importing” button.
- When the template finishes the import process, click the “View Site” button.

Once you install your theme, you’ll want to upload your logo, change the color scheme to fit your brand, and more. Read our How To Use WordPress article for full details.
You also can access the Astra theme’s documentation for more information about customizing its page templates.
How To Install the Hello Elementor WordPress Theme
- From the WordPress admin panel, select “Appearance” and then “Themes.”
- Select “WordPress.org Themes” to explore free themes.
- Enter Hello Elementor into the search field.
![WordPress Hello Elementor theme Details & Preview.]()
- Click the “Install” button.
- After the installation process finishes, click the “Activate” button.
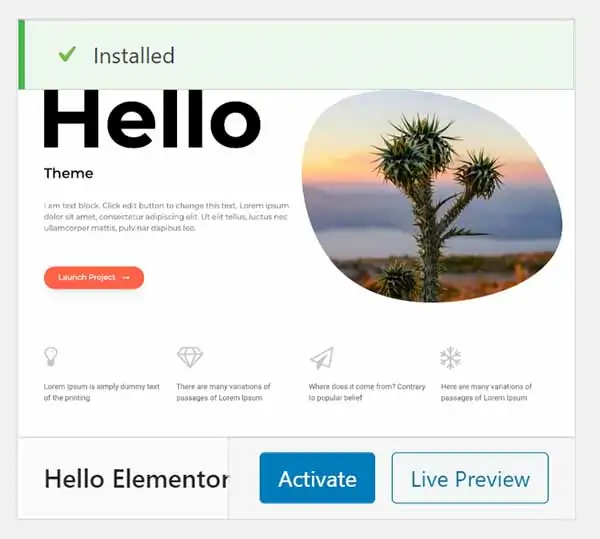
![WordPress Hello Elementor theme installed.]()

Installing Hello Elementor Page Templates
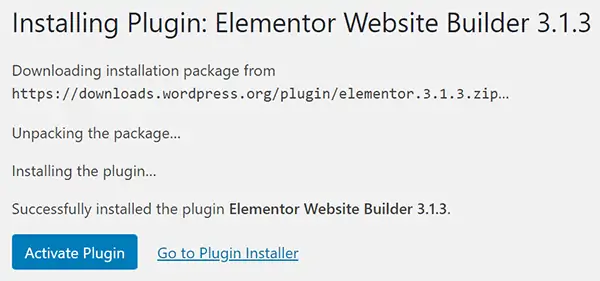
After installing the Hello Elementor theme, you’ll immediately see a prompt to install the Elementor Page Builder plugin. To access the Elementor library of site and page templates, you must install this plugin.

- Click the “Install Elementor” button.
- After you successfully install this plugin, click the “Activate Plugin” button.
![WordPress Elementor Website Builder plugin install.]()
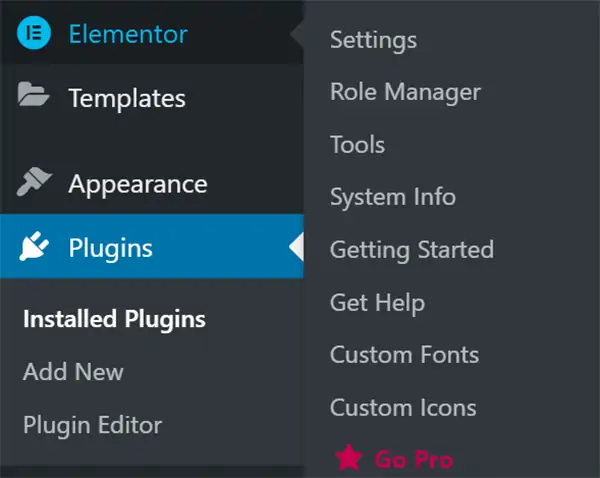
- Click “Elementor” and then “Getting Started” from the WordPress dashboard.
![WordPress dashboard Plugins panel.]()
- Review the “Welcome” video and documentation to learn how to use Elementor to design your site’s pages.
Once you install the Hello Elementor theme, you’ll want to upload your logo, change the color scheme to fit your brand, and more.
Read our How to Use WordPress article for more information.
How To Install a Premium Theme Through Bluehost
As a perk of using Bluehost, its customers can easily access, purchase, and install many popular premium themes. You can do this through your Bluehost account or your WordPress dashboard.
How To Purchase a Premium Theme Through Bluehost
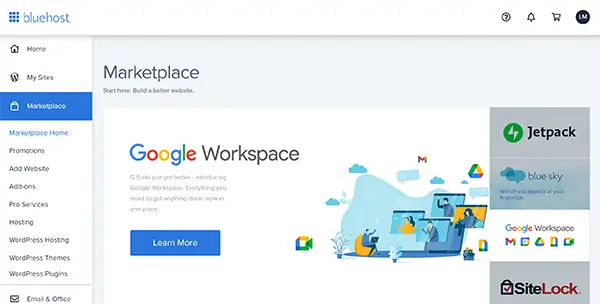
- From your Bluehost account, click “Marketplace” and then “WordPress Themes” from the menu on the left.
![WordPress marketplace.]()
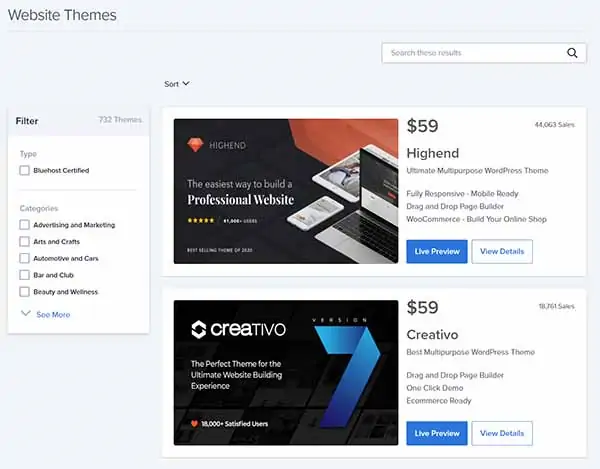
- Click on a theme to view more information about it or to see a live demo.
![WordPress website themes.]()
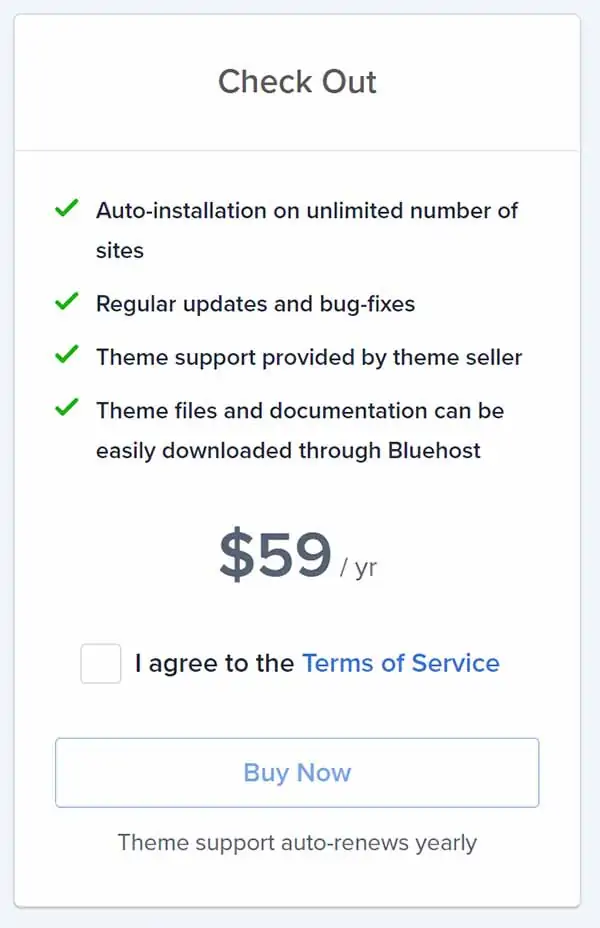
- Once you find a theme you like, check the box next to “I agree to the Terms of Service” and click the “Buy Now” button.
![WordPress check out.]()
- Review the information on the next screen, and then click the “Complete purchase” button when you’re ready to buy.
- Bluehost will automatically bill your credit card on file and walk you through the steps you must take to complete your theme installation.
How To Purchase a Premium Theme Through the WordPress Dashboard
- From your WordPress dashboard, click “Bluehost” and then “Themes.”
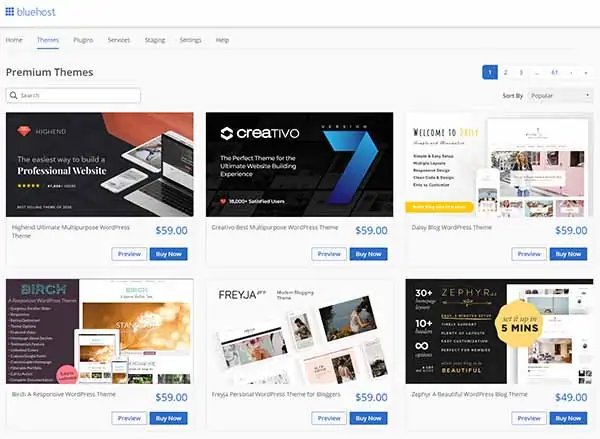
- Click on a theme to view more information about it or to see a live preview.
![WordPress marketplace premium themes.]()
- When you find a theme you like, click the “Buy Now” button.
- The theme creator’s sales page will then appear, and you can complete your purchase there.
- Once you pay for your premium theme, Bluehost will automatically install it for you.
After you install your premium theme, you’ll want to upload your logo, change the color scheme to fit your brand, and more.
How To Upload a Theme From a WordPress Marketplace
If none of the themes available through the WordPress or Bluehost dashboards suit your needs, you may also consider purchasing a theme through an external WordPress Marketplace or WordPress Developer like Envato, ThemeForest, StudioPress, and Elegant Themes.
How To Install a WordPress Marketplace Theme
- Purchase a theme from your chosen theme marketplace or theme developer.
- Save the ZIP file that contains the theme’s files to your computer.
- From the WordPress admin panel, select “Appearance” and then “Themes.”
![WordPress themes library search bar.]()
- Select “Upload.”
- Click the “Upload Theme” button.
- Click the “Choose File” button.
- Locate and select the ZIP file that contains the theme’s files, and then click the “Open” button.
- Click the “Install Now” button.
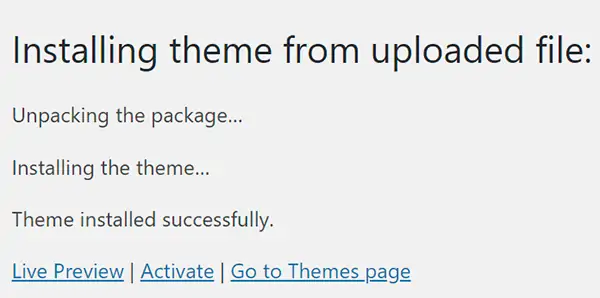
- Once the theme finishes the installation process, click the “Activate” link.
![WordPress installing theme from uploaded file.]()

Changing themes isn’t always seamless. We recommend activating the Bluehost “Coming Soon” feature before changing your theme. Visit the “Bluehost” section of the WordPress admin dashboard and click the “Restore Coming Soon” button.
How To Install and Configure the Divi WordPress Theme
Divi is one of the most popular WordPress themes out there. It’s fantastic for bloggers and even allows for ecommerce capabilities with the WooCommerce plugin. Learn more about Divi by checking out our Best WordPress Themes review.
To install and configure the Divi theme:
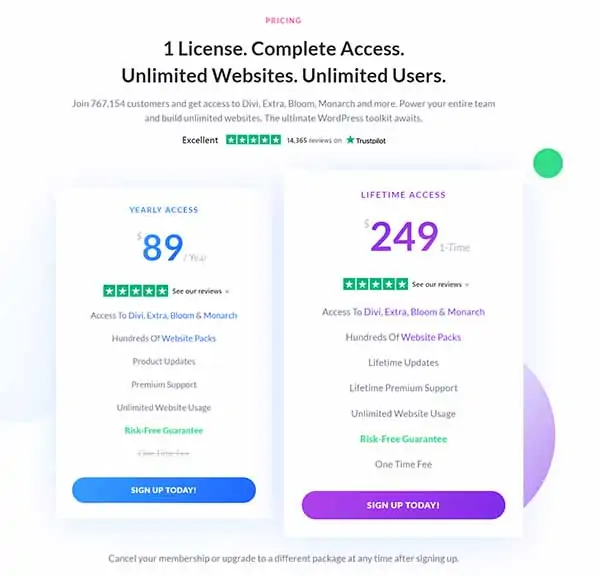
- Visit the Elegant Themes website.
- Choose the pricing package that meets your needs, and then click the “SIGN UP TODAY!” button.
![WordPress service plans and pricing.]()
- Follow the prompts to create an account and purchase your theme.
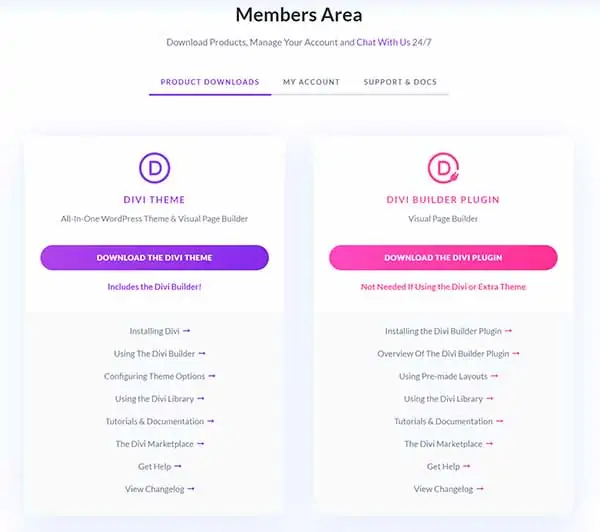
- After purchasing your theme, you’ll arrive in the Members Area. Click the “DOWNLOAD THE DIVI THEME” button and save the file to your computer. The Divi theme installation package includes the theme and the Divi Builder plugin — a drag-and-drop page and post builder.
![WordPress Members Area product downloads.]()
- Return to the WordPress admin panel, select “Appearance,” and then select “Themes.”
![WordPress themes library search bar.]()
- Select “Upload.”
- Click the “Upload Theme” button.
- Click the “Choose File” button.
- Locate and select the ZIP file that contains the theme’s files, and then click the “Open” button.
- Click the “Install Now” button.
- Once the theme finishes the installation process, click the “Activate” link.
![WordPress installing theme from uploaded file.]()
After you install your theme, you’ll want to upload your logo, change the color scheme to fit your brand, and more. Read our How To Use WordPress article for full details.
You also can access Elegant Theme’s documentation for more information about customizing your website using the Divi theme and Divi Builder.
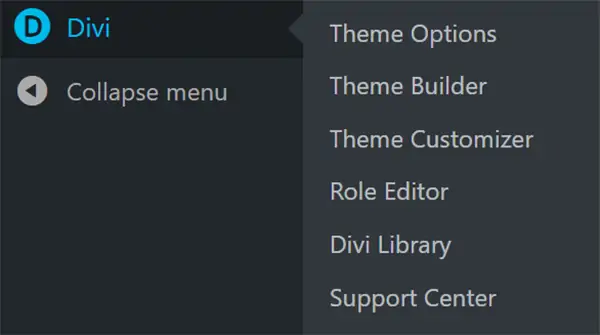
Click “Divi” and then “Theme Options” to configure your website’s global settings. You also can click “Divi” and then “Theme Customizer” to access the WordPress Customizer, where you can configure your site further.
How To Install and Configure the Avada WordPress Theme
- Visit the ThemeFusion website.
- Click the “Buy Avada Now” button.
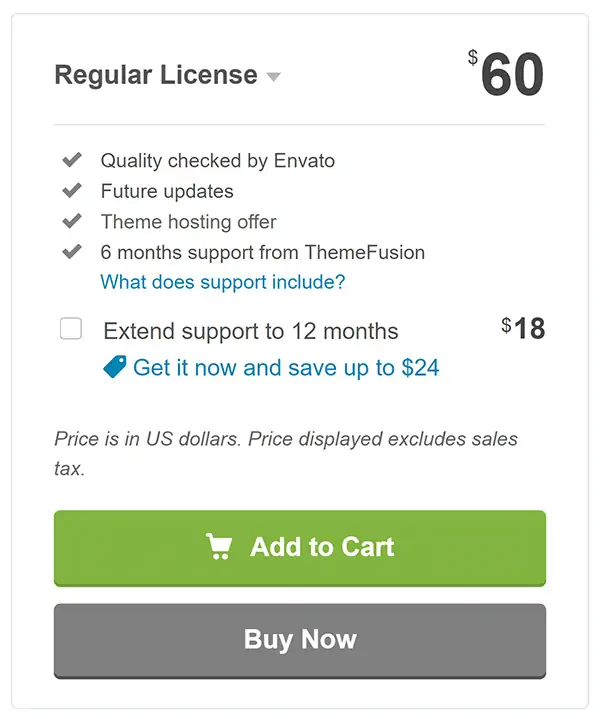
- Choose the licensing package that meets your needs, and then click the “Buy Now” button.
![WordPress regular license check out.]()
- Follow the prompts to create an account and purchase your theme.
- After purchasing your theme, download the ZIP file that contains the Avada theme’s files.
- Return to the WordPress admin panel, select “Appearance,” and then select “Themes.”
![WordPress themes library search bar.]()
- Select “Upload.”
- Click the “Upload Theme” button.
- Click the “Choose File” button.
- Locate and select the ZIP file that contains the theme’s files, and then click the “Open” button.
- Click the “Install Now” button.
- Once the theme finishes the installation process, click the “Activate” link.
![WordPress installing theme from uploaded file.]()
- Follow the prompts to install two essential plugins: “Avada Core” and “Avada Builder.”
After you install your theme, you’ll want to upload your logo, change the color scheme to fit your brand, and more. Read our How To Use WordPress article for full details.
You also can access ThemeFusion’s documentation for more information about customizing your website using the Avada theme and Avada Builder.
Final Thoughts
Now that you have a better understanding of how to install WordPress themes, it’s time to build and customize your WordPress website. Check out our useful How to Use WordPress tutorial to keep going, and be sure to read our How to Make a Website guide to make sure your site has everything it needs.