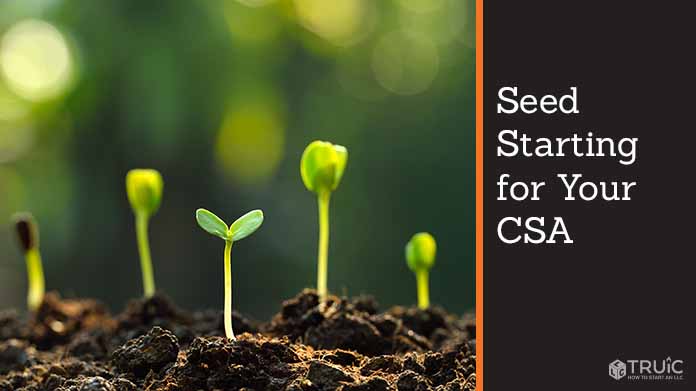
Seed Starting for Your CSA
Seedling propagation is a very important aspect of running a CSA. Most vegetables should be started indoors, preferably in some type of greenhouse. However, some can be directly planted into your garden.
Recommended: Read our 5 step guide to starting a CSA written by a successful startup CSA owner.
Tips for Transplants
Getting your plants off to a good start in the beginning will greatly affect your success in the garden. Having a dedicated nursery area for starting transplants is crucial in commercial-scale vegetable production. Here are some tips to keep in mind when starting and growing transplants.
Buy Your Seeds From the Right Source
The best place to start is by finding a reputable seed company to buy your seeds from. This will require some research if you’re trying to buy local, but you can start with seed catalogs. A good place to start is Johnnyseeds.com. They have an amazing selection of seeds and great customer service.
You may be asking yourself: “Why not just save my own seeds, and use those for next year? Wouldn’t that be more economical?” In most contexts, this is extremely uneconomical and a waste of time. Seed production is a science that requires the right knowledge, as well as the right tools and infrastructure in order to produce high quality seeds that germinate well. If you're trying to make a living from your CSA, focus on growing produce. Leave the seed saving to the pros.
With that being said, it never hurts to experiment a little bit and learn new things. Feel free to try saving certain seeds if you have a strong desire to do so, but don’t expect to be able to depend entirely on your own stores for next year’s planting.
Once you’ve found a reliable source for seeds, research on what variety will work best in your climate and specific growing conditions. Certain varieties do better or worse in warmer or cooler environments. Other things you’ll need to pay attention to include the quality of seed varieties and particular challenges for growing different types of seeds.
Over the years, you will come to learn which varieties work best on your farm and which ones don’t.
Get the Right Seed Starting Equipment
You have a couple options when it comes to seed-starting containers:
Plastic Cell-Type Trays
These are the most common type of containers used on small farms. These usually come in a few different sizes:
- 50 cell
- 72 cell
- 128 cell
- 200 cell
These are the standard sizes for trays, and they each have their advantages and disadvantages. The larger the cells, the longer your transplants will grow in them. But the large cell trays will also take up more room in your nursery. Certain crops do better in smaller or larger cells. For example, zucchini needs to be started in larger containers because they grow very big, very fast. If you start zucchini in 200 cell trays, your seedlings are going to do very poorly.
Resist the temptation to start seeds in just any old containers laying around (used coffee cups, jars, etc.) In order to make a living from your CSA, you have to become efficient, and having standard container sizes to work with will make everything easier. You can save a lot of money by buying trays in bulk.
Soil Blocks
Another way to start seeds is by using soil blocks. There are soil block makers available on Johnnyseeds.com. This method is more ecologically sustainable, as it reduces the amount of plastic being used for production, and reduces the cost for buying trays. However, it requires more labor then simply using trays and so it may not be the most economical choice when you consider the cost of labor involved.
Regardless of which option you choose, there is some additional equipment you can look into to help create an optimal environment for your seedlings:
- Humidity domes
- Germination chamber
- Heating mats
Set Up Infrastructure
In order to be successful in seedling propagation, you will want to have some sort of greenhouse. This can be a simple caterpillar tunnel covered by poly plastic or a permanent greenhouse with poured concrete floors, polycarbonate walls and heating/cooling systems. The more control you have over the environment, the better your chances of success.
If you’re starting on a budget, Farmersfriend.com is a great place to purchase affordable caterpillar tunnels. You're also going to want to raise your trays off of the ground so they are easier to work with and to help protect your seedlings from insects. You can either build or purchase benches or shelving to accomplish this.
In addition, you may want to consider investing in a germination chamber, or you can build your own. This is a chamber that gives control over temperature and humidity for seed germination.
You're also going to need to consider some type of heating system if you plan on starting your season early. Some options for heat sourcing include:
- Propane
- Natural gas
- Electric heating
- A wood stove
- A rocket stove
Heating mats help with propagating warm weather crops early on in the season. For example, if you plan to grow tomatoes, eggplants, or peppers, you may want to invest in some.
Get Your Timing Right
It is extremely important that you know the typical first and last frost dates in your area. This will enable you to plan your crop calendar. Some vegetables can be planted in a range of seasons, while others need to be planted at an exact date for success.
Generally speaking, there are three main planting times during a normal growing season: spring plantings, summer plantings, and fall plantings. Keep in mind when you're planting for the fall that the days get shorter, so you’ll have less daylight to get your work done.
Harden Off the Plants
A common beginner mistake is thinking that you can transplant your seedlings right from the greenhouse into full sun. This will often result in crop failure or stunted growth. Plants need to adjust to outside conditions, such as direct sunlight, strong winds, colder nights, and many other factors that can potentially shock your seedlings.
For this reason, it’s essential to have a system for hardening off seedlings. This is the transitional stage where the plants are given increasing amounts of exposure to outside conditions over the course of one or two weeks, before finally being planted outside. One useful and efficient way to accomplish this is to create a nursery bench that can operate like a stretcher. In this way, two people can easily carry 10 trays out into the sun in a short amount of time, and then bring them back into the greenhouse later on.
Tips for Direct Seeding
Direct seeding is more straightforward than starting seeds as transplants, but it only works in certain contexts. Direct seeding is a very efficient way to plant the following vegetables:
- Beetroot
- Radish
- Turnip
- Beans
- Baby lettuce
- Spinach
- Chard
- Baby kale
- Arugula
- Basil
That’s not a comprehensive list — there are plenty of other crops you can direct-seed as well. In fact, some crops must be direct seeded in order to grow well. Always check the back of your seed packaging for planting instructions to determine if a crop should be transplanted or direct seeded.
In order to efficiently direct seed on a commercial farm, you will definitely want to invest in a push seeder. The two most common seeders used in small-scale farming are the Earthway seeder, and the Jang seeder. Among the two, the Jang Seeder is more efficient and versatile, although it is more expensive. Using a push seeder will save you countless hours of labor, and your germination rates will be much higher since the seeds will get planted at near perfect spacing and depth.
It’s also important to consider what type of irrigation you plan on using before direct seeding a crop. Overhead irrigation is best for stimulating seed germination since it keeps the surface moist, while drip irrigation is better for sustaining crops once they’re established. Many farms opt for a combination of both watering systems.