How to Create a Staging Site on GoDaddy: A Step-by-Step Guide
As a small business owner, your website is a virtual extension of your business that’s open and ready for customers at any time. Therefore, you don’t want to alarm or lose customers when it’s time to update or make changes to your small business website. While some visitors may be understanding and can wait out downtime, other visitors simply go back to the search engine to find a similar business.
This is where having a GoDaddy staging site comes in. If you have GoDaddy WordPress hosting, you have the ability to create a staging site so that you can edit your website and only make the changes live when the job is done.
Want to learn if GoDaddy Hosting is right for you? Check out our Best Web Hosting Providers review for more.
What Is a Staging Site?
A staging site is a duplicate version of your business website. Everything from your website’s layout to content is copied onto a temporary domain or subdomain that only you can see.
With GoDaddy WordPress Hosting, you can easily log in to your GoDaddy staging site, experiment with new designs or make changes, and roll over the changes when you’re ready to relaunch.
Why Do I Need a Staging Site?
Making changes to your live website can cause a number of problems, especially if you have a lot of traffic on your business website. Changes to your website’s code or appearance can result in crashes, hacks, server downtime, and, more importantly, loss of customers due to confusion and errors.
Unfortunately, GoDaddy only offers staging websites to businesses who subscribe to its Managed WordPress plans, not including the Basic Managed WordPress plan. If you created your business website using the GoDaddy website builder, you are still able to make changes and preview them before publishing. However, you won’t be able to test the functionality of your new site before going live.
Not on a GoDaddy Managed WordPress plan? Upgrade your GoDaddy hosting plan today.
Create WordPress Staging Site With GoDaddy
Ready to create a staging website with GoDaddy? Follow these three steps to duplicate, make changes, test, and publish your website safely:
Step 1: Create a GoDaddy Staging Site
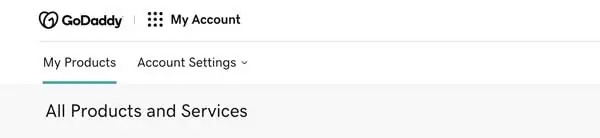
- Log in to your GoDaddy account and select the “My Products” tab at the top of the page.
- On this page, you’ll see a section for each type of GoDaddy product that you currently have. Next to the “Managed WordPress” section, select “Manage All” to show all of your Managed WordPress websites.
- Find the site that you want to create a staging website for and click on the three dots at the end of the column to open the settings menu for this product.
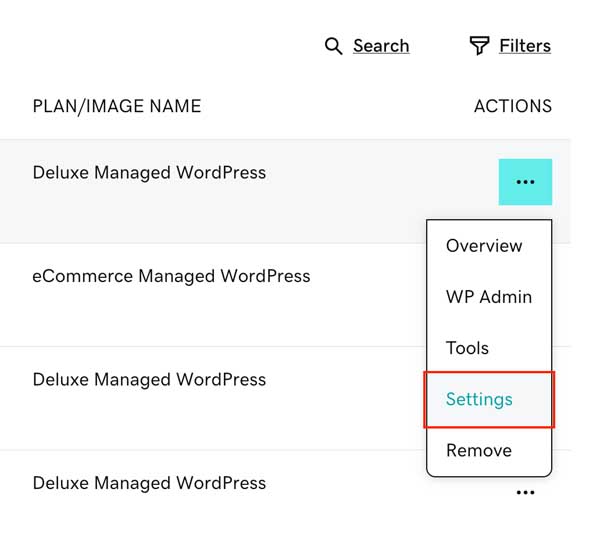
- In the dropdown menu, select Settings > Staging > Create.

GoDaddy will begin to create a duplicate of your website in the background. This process can take a few moments. At any time you can refresh your page to check the status of your new GoDaddy staging website.
Step 2: Edit Your GoDaddy Staging Website
Once your GoDaddy staging site is created, you’ll see a new section under the “My Products” page called “Staging”. The staging site you just created will be listed underneath this section. You can begin to edit this duplicate, private version of your website as you normally would. Changes you make to your GoDaddy staging site will not be visible on your main domain.
To preview any changes you made to your staging site, click on the small arrow at the top right corner of the text.

Need help editing your WordPress website? Read our How to Use WordPress guide for beginners.
Step 3: Publish Your GoDaddy Staging Site
When you’re done updating your staging website and are ready to publish your changes live, you can sync your GoDaddy staging site in just a few clicks.
Going back to the “My Products” page, navigate to the “Staging Site” section and this time click the “Actions” dropdown menu on the right.
Select Actions > Sync Sites to publish your changes. Be aware that the “Sync Sites” option will overwrite your WordPress website and the old version of your website will be lost. There is no way to undo the publish once it is complete.
Final Thoughts
Creating a staging site for a GoDaddy Managed WordPress website is a pretty simple process.
If your business website has a decent amount of traffic, you don’t want to disrupt the user experience by making and testing out changes on your public website. A GoDaddy staging site gives you the opportunity to test out new designs, add content, and update information and only make those changes permanent once you are satisfied.
For more on WordPress or working with GoDaddy, try these useful articles: