How to Use WordPress Website Builder in 2026
Whether you’re just starting to build a website with WordPress or you want to make changes to your current WordPress site, you’ve come to the right place. This WordPress beginner’s guide will show you how to customize your WordPress website, use WordPress plugins, and manage blog posts, pages, files, and categories.
These step-by-step WordPress instructions will show you how to make the design, layout, and functionality changes you need to take your WordPress website to the next level.
Need help with hosting your WordPress website? We recommend using Bluehost to get your site up and running.
Installing WordPress
Installing WordPress is a fairly easy process, which you can complete through your web hosting provider. If you signed up for a Bluehost WordPress hosting plan, Bluehost will automatically install it for you. If you haven’t signed up for a Bluehost WordPress hosting plan yet, click here.
If you use a web hosting provider other than Bluehost, you’ll need to follow your host’s instructions for installing WordPress. Most web hosts will allow you to install WordPress via their cPanel software. For more information, read our step-by-step guide on How To Make a WordPress Website.
Skip Ahead to:
Editing Categories in WordPress
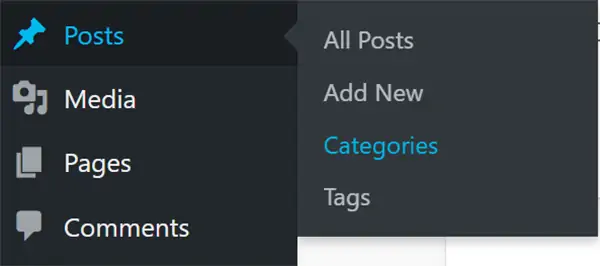
Although you can add and assign categories in posts pages, you can’t edit those categories from there.
To edit WordPress categories:
- From the WordPress admin panel, select “Posts” and then “Categories.”
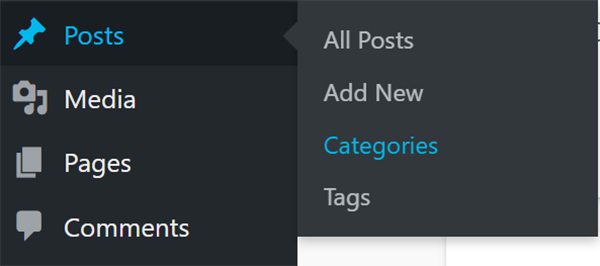
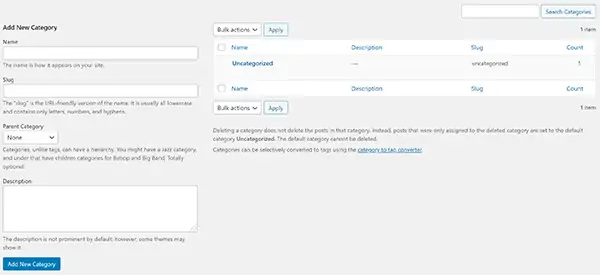
- From the “Categories” admin panel, you can add, edit, and delete categories.
Managing Your WordPress Media Library
From your WordPress Media Library, you can add, edit, and delete media files. These include a variety of file formats, such as joint photographic experts group (JPEG), portable document format (PDF), Moving Picture Experts Group (MPEG) Audio Layer-3 (MP3), and QuickTime Movie (MOV) files.
To access your WordPress Media Library:
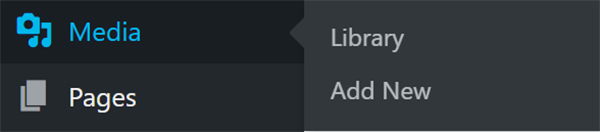
- From the WordPress admin panel, select “Media” and then “Library.”
- Within the “Library” admin panel, you can:
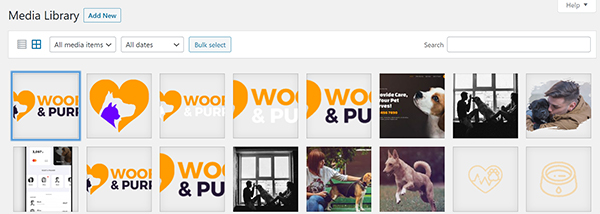
- Add a new media file.
- Use the “Bulk Select” feature to simultaneously delete multiple files.
- Click on a file to edit its alternative text, title, caption, or description.
- View a file’s uniform resource locator (URL).
- Permanently delete an image.


Adding PDF Files To WordPress Posts and Pages
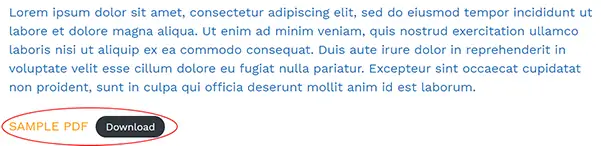
As a business, you may want to add a PDF file to a specific post or page on your website. To do so, you first need to decide how you want that PDF file to appear on your post or page. You have two options. It can either appear as a link with a button or as a hyperlink within a line of text.
To insert a PDF file link and button (shown on a new line):
- Access the editing environment of the post or page to which you want to add the PDF file.
- Click on the block where you want to add your PDF file.
- Click the “Add Block” button.

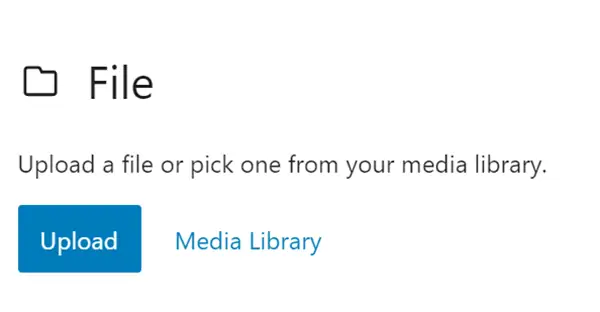
- Select the file block.
- You can now upload the PDF file or select it from your WordPress Media Library if you uploaded it already.

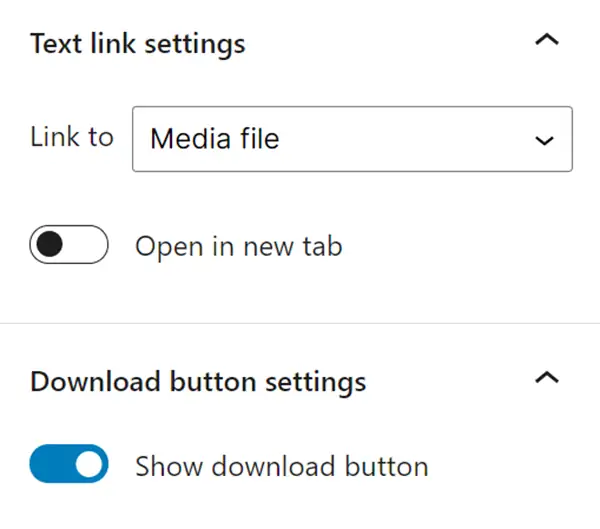
- After inserting the PDF file on the post or page, you can adjust the settings.

- Select “Open in new tab” if you want the PDF file to open in a browser tab.
- Click “Show download button” if you want to allow visitors to download the PDF file with the click of a button.
- Click “Preview” and view your changes to ensure the PDF file appears as expected.
- Click “Save” (if your page is in draft form) or “Update” (if your page is live) to save your changes.

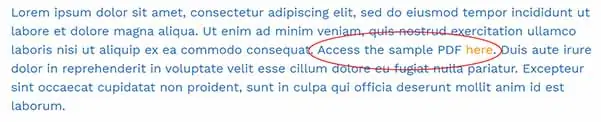
To add a hyperlink to a PDF file within a line of text:
- Add the PDF file to your WordPress Media Library.
- Select the PDF file from within your WordPress Media Library.
- Copy the PDF file’s URL.
- Return to the editing environment for the applicable post or page.
- Highlight the text from which you want to embed a hyperlink to the PDF file.
- Click the “Hyperlink” button.
- Paste in the PDF file’s URL.
- Select “Open in new tab” if you want the PDF file to open in a browser tab.
- Press “Enter.”
- Click “Preview” and view your changes to ensure the PDF file appears as expected.
- Click “Save” (if your page is in draft form) or “Update” (if your page is live) to save your changes.
Changing a WordPress Theme
If you want to change your website’s theme at any time, it’s relatively easy to do so. You can either install a theme directly from the WordPress theme repository or upload a theme you purchased from an external WordPress marketplace.
To select a theme from the WordPress repository:
- From the WordPress admin panel, select “Appearance” and then “Themes.”

- Click the “WordPress.org Themes” button to explore free themes. If Bluehost is your web hosting provider, you will also have the option to click a “Premium Themes” button to purchase a theme sold by Bluehost.
- Once you select a theme, you can preview, install, and activate it on your website.

To upload a theme from a WordPress Marketplace:
- Purchase a theme from your chosen theme marketplace.
- Save the ZIP file that contains your theme’s files.
- From the WordPress Admin Panel, select “Appearance” and then “Themes.”
- Click the “Upload” button.
- Click the “Upload Theme” button.
- Click the “Choose File” button.
- Locate and select the ZIP file that contains your theme’s files, and then click the “Open” button.
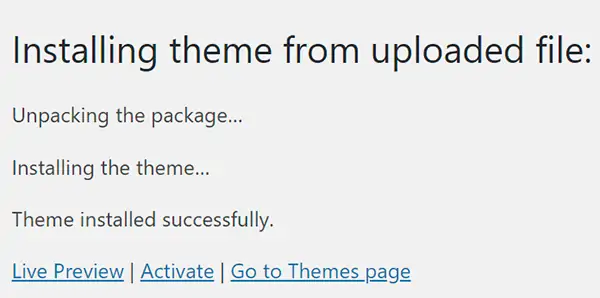
- Click the “Install Now” button.
- Once the theme finishes the installation process, click the “Activate” link.
It’s of note that changing themes isn’t always a seamless transfer. That’s why we recommend reactivating the Bluehost “Coming Soon” feature before you start this process. Simply go to the “Bluehost” section of the WordPress admin dashboard and click the “Restore Coming Soon” button.
Adding and Editing a Menu in WordPress
WordPress menus provide a set of links that direct users to specific areas of a website. Most WordPress websites include a horizontal bar with links at the top of each page. These menus, often called navigation menus, help users easily find content on your site.
The exact location of your WordPress menu will depend on your chosen theme and the options you select. For our WordPress demo site, we chose the “Astra” theme and will focus on editing the top navigation menu.

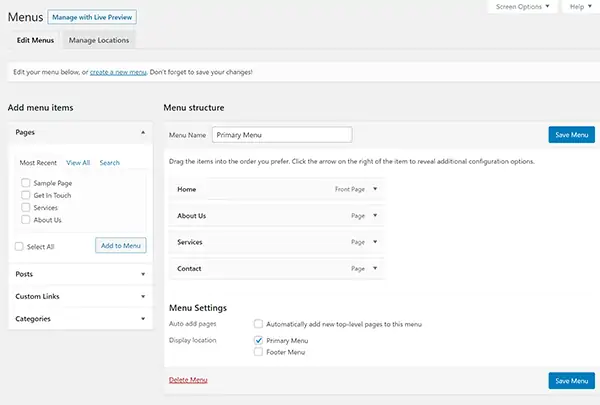
To edit an existing WordPress menu:
- Select “Appearance” and then “Menu” from the WordPress dashboard. From here, you can:

- Change the “Menu Name” to something you’ll remember, such as “header menu,” “top menu,” or “main menu.”
- Add pages to your existing menu by checking the box next to the relevant page name(s) and clicking the “Add to Menu” button.
- Add custom links to your menu.
- Add categories to your menu.
- Rearrange the order of the items in your menu by dragging and dropping them into your preferred order.
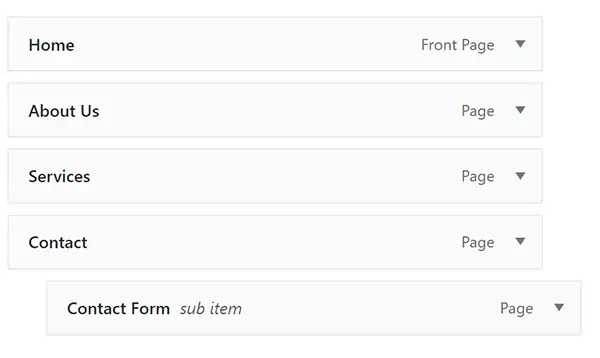
- Create drop-down menus — also called submenus — by dragging a menu item slightly to the right of the main menu item.
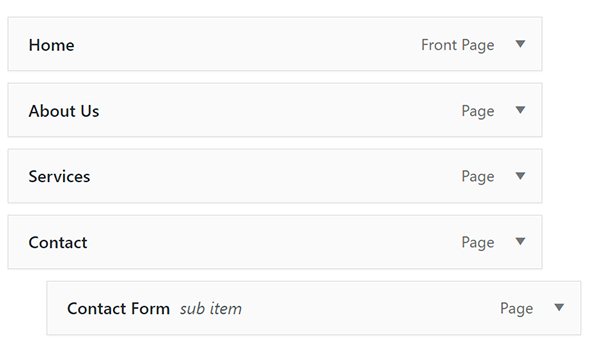
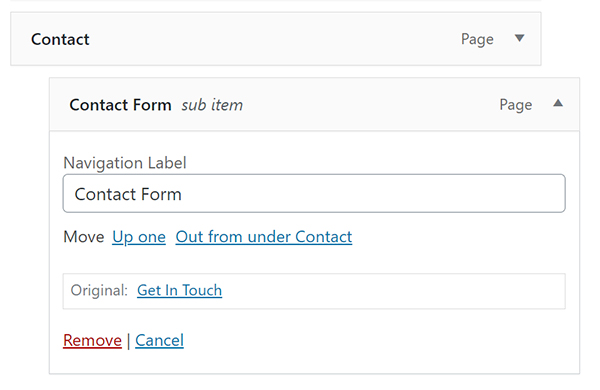
- Change the name of menu items by clicking the “Expand” arrow to the right of each menu item.
- Once you finish editing your menu, click the “Save Changes” button.

To add a new WordPress menu:
- Select “Appearance” and then “Menu” from the WordPress dashboard.
- Click the “create a new menu” link.
- Add a “Menu Name” that you’ll remember, such as “header menu,” “top menu,” or “main menu.”
- Choose the applicable menu settings, and then click the “Create Menu” button.
- Add pages to your new menu by checking the box next to the relevant page name(s) and clicking the “Add to Menu” button.
- Add custom links and/or categories to your menu.
- Arrange the order of your menu items by dragging and dropping them into your preferred order.
- Create drop-down menus by dragging a menu item slightly to the right of the main menu item.
- Once you finish editing your new menu, click the “Save Changes” button.
Keep in mind most WordPress themes have multiple locations where you can display menus. Try different menu options and configurations to find the one that looks and functions best for your website.
Using WordPress Plugins
You can find thousands upon thousands of plugins available for your WordPress website. While you likely explored some of the Best Plugins for a WordPress Site as you built your website, you may need to install some lesser-known plugins to meet specific needs.
Duplicating a Page in WordPress
Most WordPress themes lack the ability to duplicate (or clone) a WordPress page or post. If your theme doesn’t include this functionality, you’ll need to install a plugin to gain that capability.
To install a page duplication plugin:
- Select “Plugins” and then “Add New” from the WordPress dashboard.
- Type “duplicate” into the search box.
- Choose a plugin that meets your needs and offers compatibility with your website’s version of WordPress.
- Click the “Install Now” button.
- Click the “Activate” button.
- When you next visit your “Pages” or “Posts” sections, you’ll now have the option to “clone” or “duplicate” a page or post.

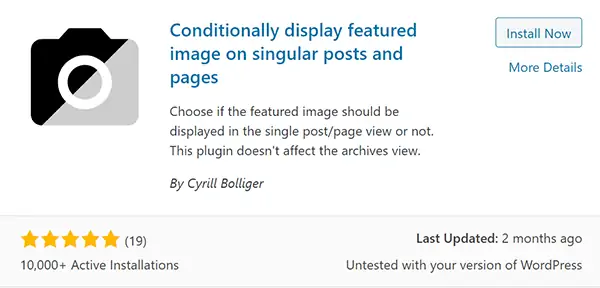
Hiding the Featured Image in WordPress
While the “Astra,” “Elementor,” and “WPBakery” themes give users the ability to hide featured images, many WordPress themes don’t. If your theme doesn’t include this functionality, you’ll need to install a plugin to gain that capability.
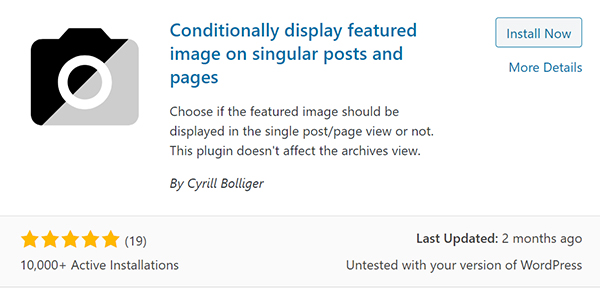
To install a plugin to hide featured images:
- Select “Plugins” and then “Add New” from the WordPress dashboard.
- Type “hide featured image” into the search box.
- WordPress will then present several plugins for your consideration. Read through the descriptions and reviews, and then select the one that’ll best meet your needs.
- Click the “Install Now” button.
- Click the “Activate” button.
- When you next edit a page or post, you’ll now have the option to “hide the featured image” on that page or post.
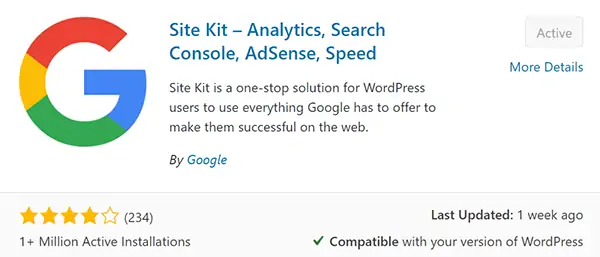
Adding Google AdSense To WordPress
Connecting your WordPress website to your Google AdSense account takes just a few simple steps.
To make this connection:
- Select “Plugins” and then “Add New” from the WordPress dashboard.
- Type “Site Kit by Google” into the search box.

- Click the “Install Now” button.
- Click the “Activate” button.
- When you next return to the “Plugins” page, click “Site Kit” from the left sidebar.
- Connect your Google account
- Follow the prompts to set up Site Kit and connect the AdSense advertising service.
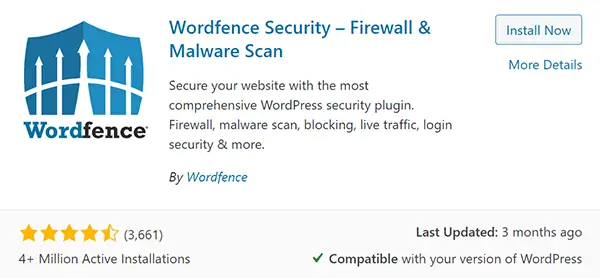
Protecting Your WordPress Site
Anyone who owns a WordPress website must take additional measures to ensure its security. Beyond installing a secure sockets layer (SSL) certificate and always updating your website and plugins in a timely fashion, you may want to add an extra level of protection with a security-focused plugin.
To install a security plugin:
- Select “Plugins” and then “Add New” from the WordPress dashboard.
- Type “security” in the search box.
- WordPress will then present several plugins for your consideration. Read through the descriptions and reviews, and then select the one that’ll best meet your needs. For the purposes of this article, we’ll install the Wordfence plugin.

- Click the “Install Now” button.
- Click the “Activate” button.
- Provide an email address to which Wordfence can send security-related messages.
- Check the box to confirm you’ve read and accepted Wordfence’s privacy policy and terms.
- Click the “Continue” button.
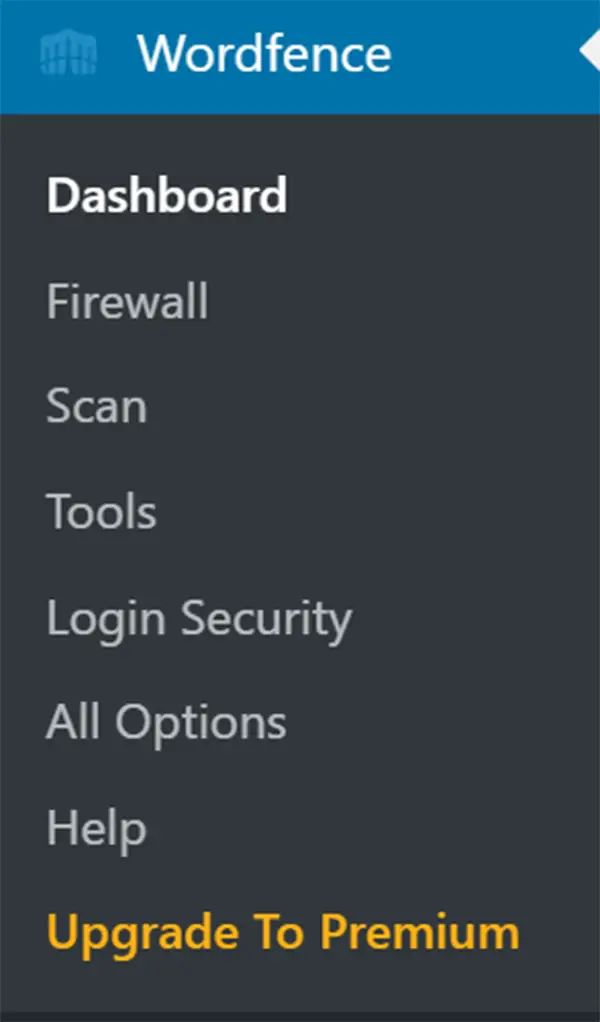
- If you don’t want to purchase the premium version of this plugin, click the “No thanks” link. If you did purchase the premium version, enter the premium key and then click the “Install” button.
- Now, you can access the Wordfence menu from the WordPress dashboard and configure it according to the instructions.
Speeding Up Your WordPress Site
As you may know, site speed plays a crucial role in search engine optimization (SEO) and your visitors’ overall user experience (UX). At some point, you may need to rely on a plugin to help you speed up your website.
To install a plugin to enhance your site’s page-loading speed:
- Select “Plugins” and then “Add New” from the WordPress dashboard.
- Type “speed” into the search box.
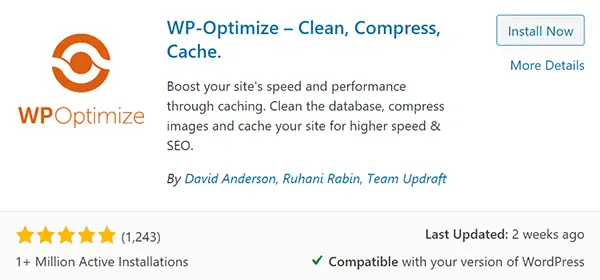
- WordPress will then present several plugins for your consideration. Read through the descriptions and reviews, and then select the one that’ll best meet your needs. For the purposes of this article, we’ll install the WP-Optimize plugin.

- Click the “Install Now” button.
- Click the “Activate” button.
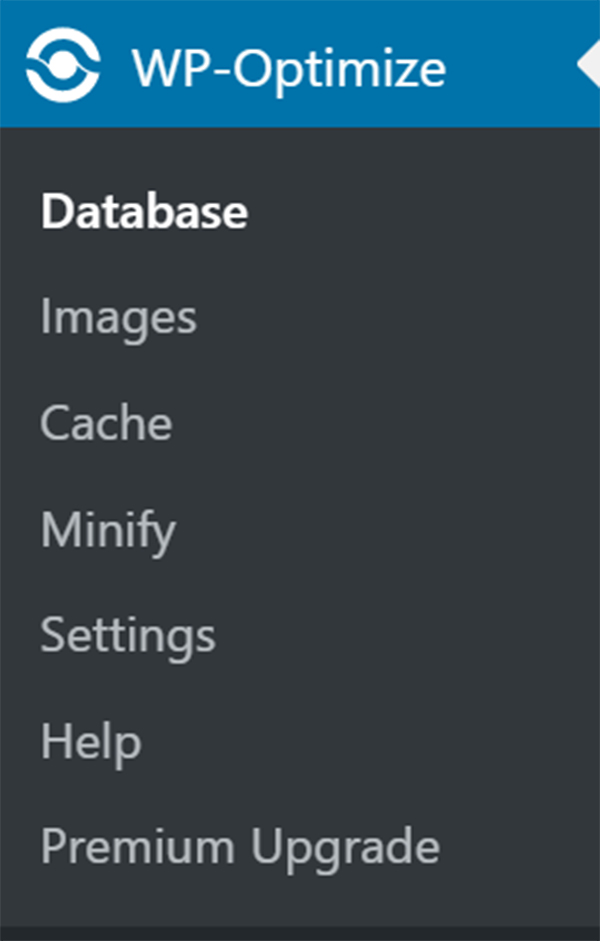
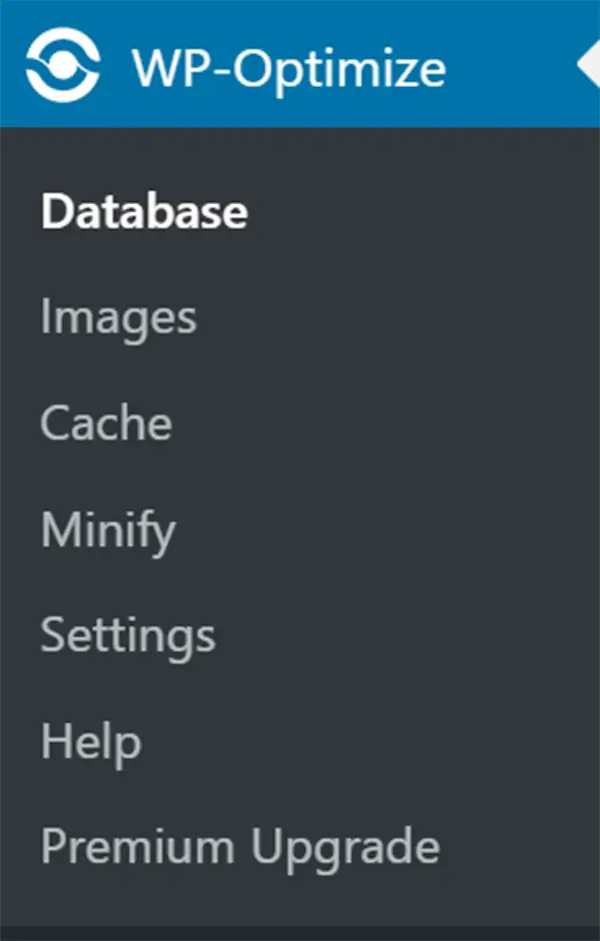
- Now, you can access the WP-Optimize menu from the WordPress dashboard and configure it according to the instructions.
Using the WordPress Customizer
The WordPress Customizer will appear differently to each user, depending on their website’s theme. Some themes use the WordPress Customizer to give users several customization options while other themes limit the WordPress Customizer’s functionality and instead make more tools available on their theme dashboard.
For example:
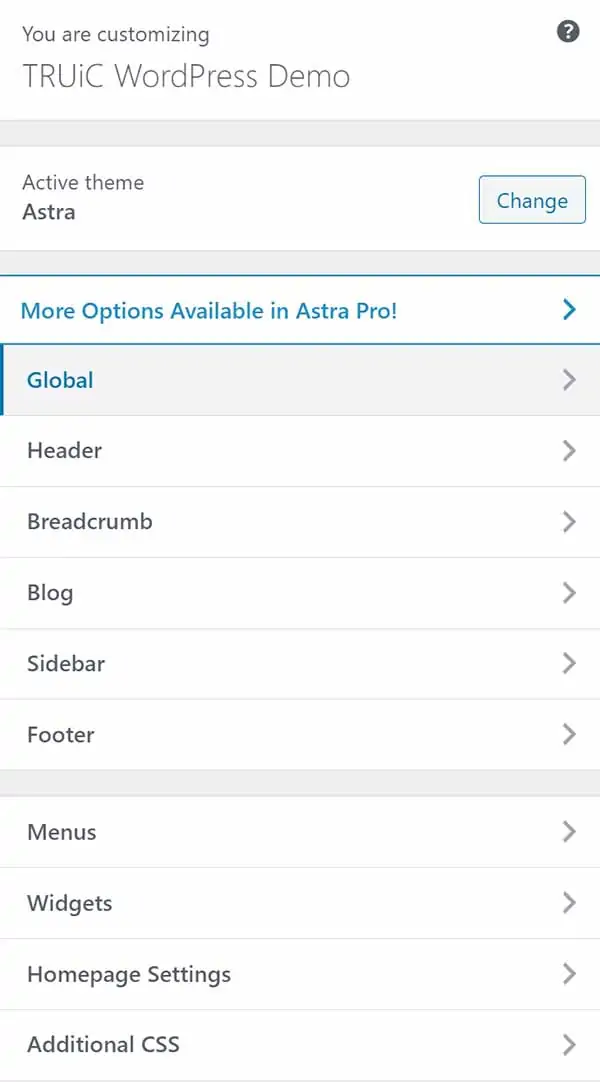
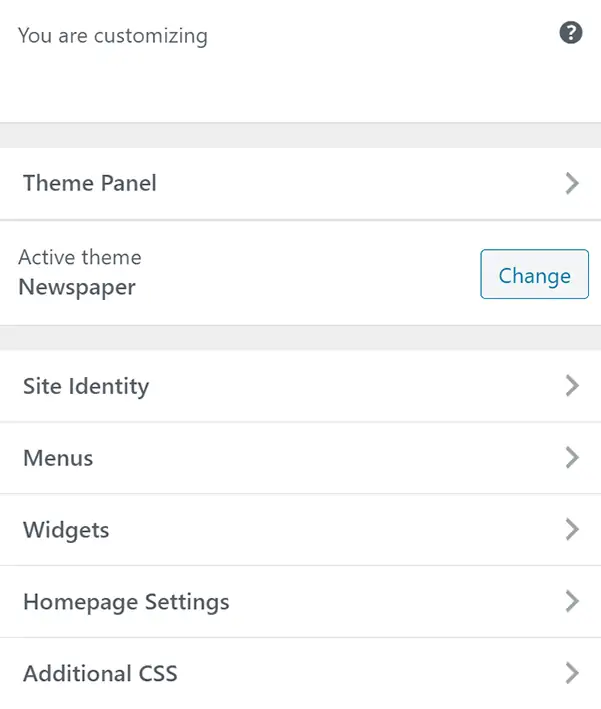
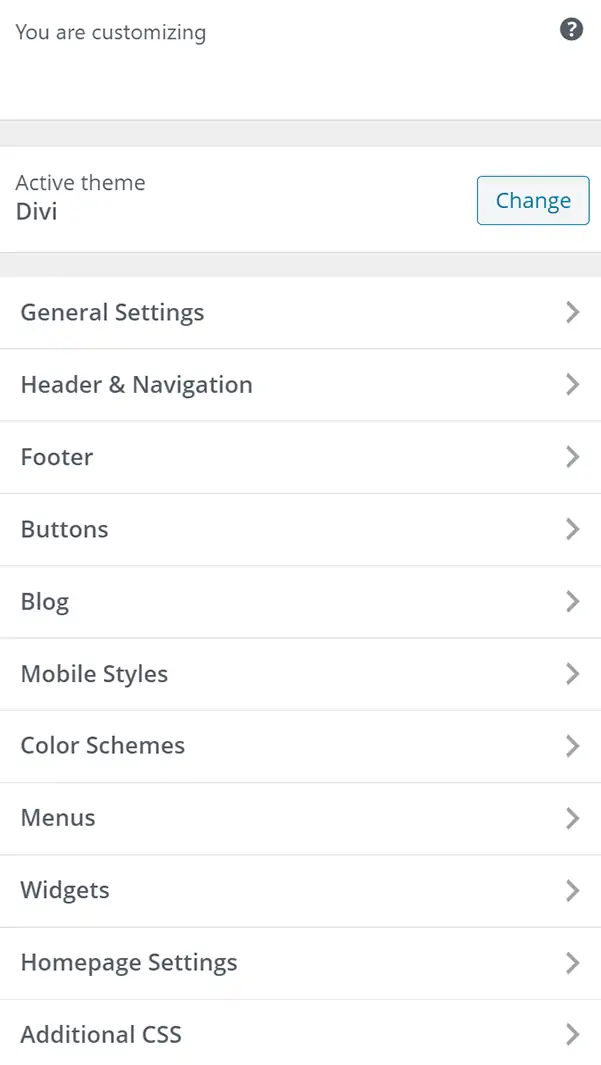
For the purposes of this article, we’ll use the WordPress Customizer to make changes to the header, footer, homepage, and fonts on a site using the “Astra” theme.
To edit a header in WordPress:
- Select “Appearance” and then “Customize” from the WordPress dashboard.
- Click the “Header” link.
- To update your website’s logo, title, and/or tagline, click the “Site Identity” link.
- Click the “Change Logo” button to upload your business’s logo. (If you don’t have a logo for your business yet, create one with our free logo maker. We recommend using a portable network graphics (PNG) file with a transparent background for your logo.)
- Update your site’s title, tagline, and/or icon, as needed.
- Click the open-angle bracket (“<”) to return to the main “Header” menu.
- To update the header layout, click the “Primary Header” tab then “Primary Menu” or “Transparent Header” and make any necessary changes. Click the open-angle bracket (“<”) to return to the main “Customize” menu.
- When you finish customizing your WordPress site, click the blue “Publish” button. This will save your changes and return you to the WordPress admin panel.
To edit the footer in WordPress:
- Select “Appearance” and then “Customize” from the WordPress dashboard.
- Click the “Footer” button.
- Click the “Footer Widgets” or “Footer Bar” tab and make any necessary changes. Click the open-angle bracket (“<”) to return to the main “Customize” menu.
- When you finish customizing your WordPress site, click the blue “Publish” button. This will save your changes and return you to the WordPress admin panel.
You also can use the WordPress Customizer to edit the look and feel of your website’s homepage. But, if you want to edit your homepage’s content, you’ll need to make those changes under the “Pages” section.
To learn more about what a successful homepage needs, refer to our How to Design a Homepage guide.
To edit the homepage in WordPress:
- Select “Appearance” and then “Customize” from the WordPress dashboard.
- Click the “Global” button.
- To update your website’s default colors, select “Colors” then “Base Colors” and make your desired changes.
- Click the “Sidebar” button to add, edit, or remove the sidebar on your website.
- After each edit, click the open-angle bracket (“<”) to return to the main “Customize” menu.
- When you finish customizing your WordPress site, click the blue “Publish” button. This will save your changes and return you to the WordPress admin panel.
To change fonts in WordPress:
- Select “Appearance” and then “Customize” from the WordPress dashboard.
- To update your website’s fonts, click the “Typography” tab.
- To update the standard font that’ll appear on both pages and posts, select “Base Typography” and then make the necessary changes.
- To update the fonts that’ll appear in headers on pages and posts, select “Headings” and then make the necessary changes.
- When you finish customizing your WordPress site, click the blue “Publish” button. This will save your changes and return you to the WordPress admin panel.
Make sure you use the correct font for your business website and branding. Refer to our Best Website Fonts guide to learn more.
Managing WordPress Users
If desired, you can give another person access to manage, edit, or add content to your WordPress website. You also can delete users and change the password a user must provide to access your WordPress site.
To add a WordPress user:
- Select “Users” and then “Add New” from the WordPress dashboard.
- Complete the form and then assign the appropriate role (e.g., subscriber, author, contributor, editor, or administrator) to your new user.
- Click the “Add New User” button.
To delete a WordPress user:
- Select “Users” and then “All Users” from the WordPress dashboard.
- Place a check mark next to the user(s) you wish to delete.
- Click “Bulk Actions” then the “Delete” button.
To change a WordPress user’s password:
- Select “Users” and then “All Users” from the WordPress dashboard.
- Place your cursor under the user for which you want to edit a password, and then click the “Edit” button.
- Under the “Account Management” section, click the “Set New Password” button.
- When you finish updating the password, click the “Update Profile” button.
Managing WordPress Settings
An important part of maintaining a WordPress website involves managing a range of back-end settings. For example, you’ll likely want to create a site map, install an SSL certificate, and perform site backups. At some point, you also may want to change your site’s permalink structure or its privacy settings.
Changing Your WordPress Website’s Permalink Structure
As a website owner, you may want to change your site’s permalink structure to improve your website’s SEO and the overall experience.
To change your site’s permalink structure:
- Select “Settings” and then “Permalinks” from the WordPress dashboard.
- Select a permalink structure from the available options or create your own with the “Custom Structure” field.
- Click the “Save Changes” button when finished.
Making Your WordPress Site Private
If you want to make your WordPress website private so you can carry out some major changes, you can do so in several ways. If you’re a Bluehost customer, you’ll find this functionality built right into WordPress.
To make your site private:
- Click “Bluehost” from the WordPress dashboard.
- Scroll down to the bottom of the screen.
- Click the “Restore Coming Soon” button.
- Once you finish making changes to your website, click the “Launch Your Site” button to make your website public again.
If you’re not a Bluehost customer, you may want to consider using a plugin like WP Maintenance Mode or Password Protected. Both are free and very easy to use.
Creating a Site Map in WordPress
Most SEO plugins include site map features. Two of the most popular SEO plugins include Yoast SEO and Rank Math SEO.
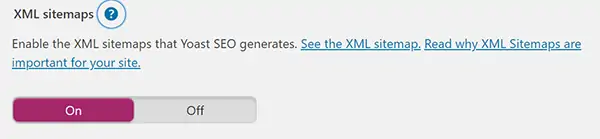
Create a Site Map With Yoast SEO
- Select “SEO” and then “General” from the WordPress dashboard.
- Click the “Features” tab.
- Ensure the “XML Sitemaps” switch appears in the “on” position.
- Click the question mark directly to the right of “XML sitemaps.”
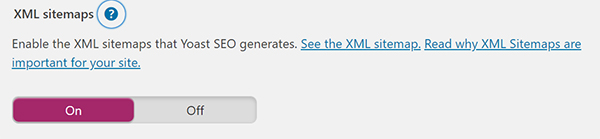
- Click on the “See the XML sitemap” link.
- Copy and paste the site map URL into Google Search Console or another program.
Create a Site Map With Rank Math SEO
- Select “Rank Math” and then “Dashboard” from WordPress admin dashboard.
- Scroll down until you see the “Sitemap” section.
- Click on the “Settings” button.
- Copy and paste the site map URL into Google Search Console or another program.
Installing an SSL Certificate in WordPress:
Most businesses need an SSL certificate installed on their website — especially because this certificate plays a large role in SEO. The installation process will vary based on your web hosting provider, if you purchased an SSL certificate separately from your web host, or if you plan to use something like Let’s Encrypt.
Visit your web hosting provider to learn more about installing an SSL certificate on your WordPress website.
Backing up a WordPress Site
To back up a WordPress website, you must either install a plugin that’ll create backups for you or back up your website yourself through your web hosting provider. We suggest using a plugin like UpdraftPlus or something similar.
To perform a WordPress website backup with UpDraftPlus:
- After installing and activating the UpdraftPlus plugin, select “Settings” and then “UpdraftPlus Backups” from the WordPress admin dashboard.
- Click the “Back up Now” button to save a copy of your website to your server.
- Click the “Settings” button to create a backup schedule or save your backups remotely.
Final Thoughts
Hopefully this guide has gotten you well on your way to knowing how to operate a WordPress website. There’s always more to know and things are always changing, feel free to save this resource to your bookmarks for safe keeping.
Check out these articles to learn more about web hosting and Bluehost: