How to Accept Payments Online: A Guide to Website Payments
If you are wondering how to accept payments online, you are not alone. Many small business owners put a lot of time and effort into building a website. It only makes sense that they would want to accept credit card payments for their products and services. Fortunately, there are a lot of tools out there that make accepting payments on a website simple enough for anyone to do.
This guide will show you how to add a payment gateway to your website. That includes accepting credit and debit cards, adding a payment gateway, setting up direct debit, using eChecks, integrating mobile wallet payments, sending invoices, and setting up recurring billing. By the end, you should know how to tackle all of these tasks.
Recommended: Make sure you have the right website builder to accommodate all this. Read our Best Website Builder Review to learn more.
The Best Ways to Accept Online Payments
There are a lot of different ways that customers and clients can pay you for your goods and services. Naturally, that means there are plenty of options for accepting online payments. We will guide you through seven of the most important ones.
Best Platform For Accepting Payments
Shopify is the best for setting up and accepting online payments. Sign up for Shopify today and take advantage of this ecommerce platform — get started with a free trial by clicking the button below.
The Best Ways to Take Payments Online:
Step 1: Accept Credit and Debit Cards
Depending on what stage your business is in, you may be able to skip this step. To accept credit and debit cards, you need a merchant account — which brick-and-mortar stores already have. If you already have a merchant account, move on to Step 2.
If you don’t have a merchant account, now is a good time to set one up.
How to Set Up a Merchant Account
A merchant account allows your store to accept online payments. It’s a type of bank account that you can connect to your website. Payments processed via your website are stored in your merchant account, from which you can make withdrawals to your business bank account. The majority of ecommerce platforms, including Shopify, GoDaddy, and Square, all make this process easy to set up and utilize. You can also set up a merchant account directly through your business bank.
Whichever organization you choose for your merchant account, you will need to enter into an agreement and pay various fees. The agreement is a contract that lays out the way your business and the provider will interact, including the range of payment services that it will provide. Different merchant accounts give you different payment options, like which types of credit cards you can accept. Processing fees can vary between a flat monthly rate, usually between $10 – $30 a month, or a set amount per transaction. Depending on how quickly you want to receive your funds, you may also have to pay withdrawal fees for instant deposits if available. You can shop around for the best payment options and processing fee schedules based on your business needs.
Typically, the simplest way to get a merchant account for your online business is to use a platform like Shopify. With Shopify, you can choose a plan like Shopify Lite, which allows you to simply add payment buttons to your existing website built with another platform. This plan also allows you to use Shopify as a POS to accept credit card payments for your brick-and-mortar store. If you don’t already have a business website, you can also use Shopify to create and host an online storefront for your business. This is why we chose Shopify as the best platform for accepting online payments. The process to get started is similar on most ecommerce platforms. Let’s go through the steps to set up a merchant account on Shopify:
- Create a Shopify account and answer questions about your business. (This helps the platform recommend appropriate solutions for your needs.)
- Fill out your business address.
![How to accept payments online.]()
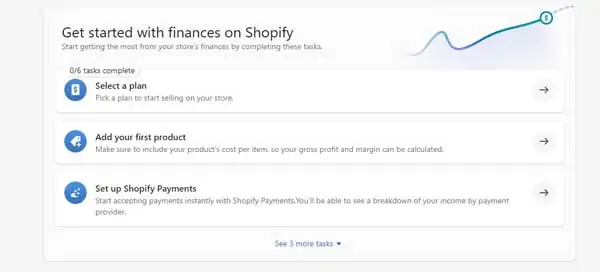
- Select “Finances” and select “Set up Shopify Payments.”
![How to accept payments online.]()
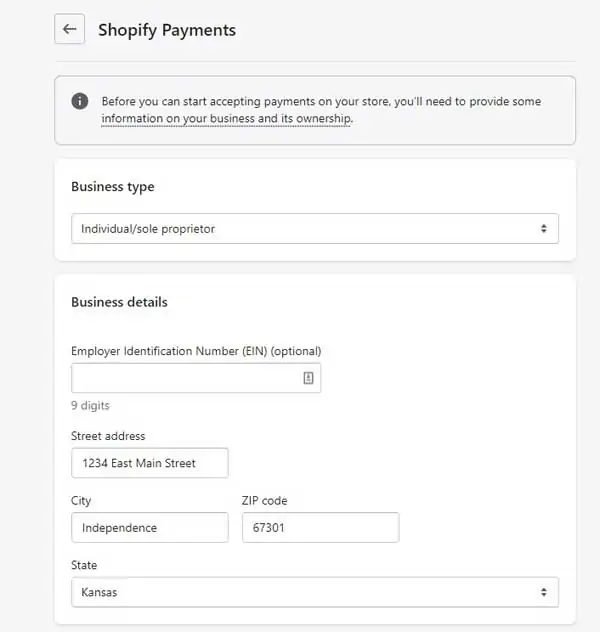
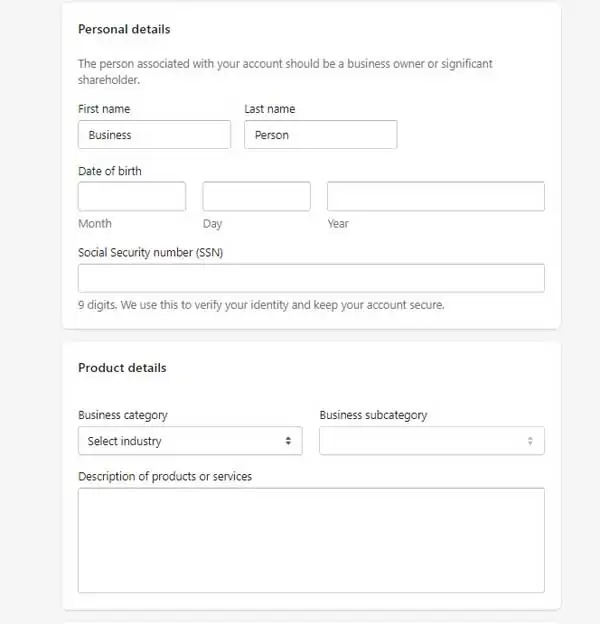
- Fill out the required information, including the type of products you are selling. (Merchant accounts often base payment options on the types of products you sell.)
![How to accept payments online.]()
![How to accept payments online.]()
- Follow the prompts to complete your merchant account setup.
Step 2: Adding a Payment Gateway
A payment gateway connects your website to a checkout system and typically accepts Visa, MasterCard, and other major credit cards. It’s a service that uses security protocols and encryption to safely transfer payment information between stores — either online or brick and mortar — and payment processors like a bank.
The process to add a payment gateway is usually straightforward. Set up an account with a provider first, then follow the instructions on your ecommerce platform to connect the payment gateway to your website.
The following instructions will show you how to connect four of the most popular gateway options.
Shopify
Shopify is an ecommerce platform that provides a great all-in-one experience for setting up a payment gateway — it also comes with its own payment gateway — Shopify Payments. It serves as both your merchant account and payment gateway. In fact, you need to use Shopify as your ecommerce platform to use Shopify Payments.
The steps listed above for setting up a merchant account with Shopify will also set up your payment gateway. Follow along with the prompts and enter all required information and Shopify will take care of the rest.
Learn more about what Shopify can do for you by reading our in-depth Shopify Ecommerce Platform Review.
Square
Square Point of Sale (POS) is great for both in-person and online transactions. It’s one of the most popular all-in-one payment solutions out there and is a top pick for businesses that conduct in-person transactions as well as online transactions. For example, many food trucks and mobile businesses utilize Square as their POS.
Like all payment gateway services, Square fees vary with different types of transactions. However, one of Square’s selling points is that it charges a flat fee for all types of credit cards.
Setting up Square payments is similar to Shopify. It’s an all-in-one system so once you go through the sign-up process, you end up with a payment gateway integrated with your website.
To set up your Square payment gateway, simply follow the prompts to set up an account with Square. These include:
- Create an account using your business email address.
- Type in your business information and personal information.
- Link your bank account so payments have a place to go.
- Order any hardware you need (if you want to sell in person) and download the Square app.
Once you have completed these steps, Square can function as your payment gateway. You can add it to whatever ecommerce platform you are using to accept payments.
Square also offers a website builder called Square Online. If you haven’t built your website yet and want to use Square as your payment gateway, it’s worth checking out. It makes building a website simple and easy, and you can immediately start accepting payments with your Square account.
Learn more about what Square Online can do for your ecommerce business by reading our How to Create a Square Online Store article.
PayPal
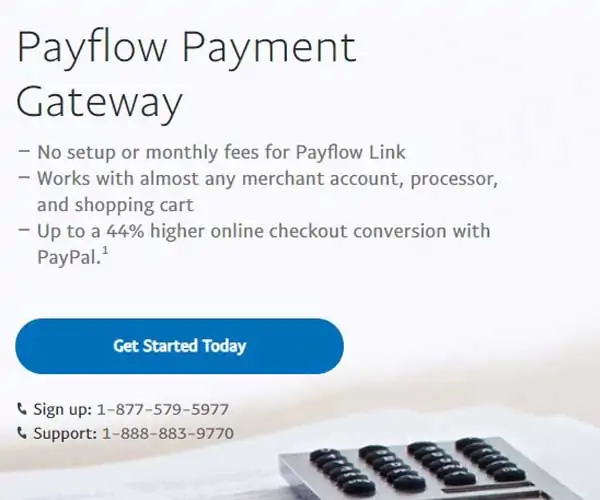
PayPal is the largest online payment processor in the world. It offers a payment gateway for online businesses called PayPal Payflow that is competitive with other gateway options. This gateway is particularly good for businesses that accept a lot of PayPal payments because it offers low rates and incremental sales boosts when you offer PayPal and PayPal Credit options.
Payflow charges 10 cents per transaction, a flat fee that is uncomplicated and may appeal to certain business owners who want predictable fees. Payflow Link is the free gateway option that has limited customization abilities, while Payflow Pro costs $25/month and is fully customizable.
To set up Payflow:
- Create a business account with PayPal.
- Complete the verification process.
- Once you have completed the sign-up process, you can connect your ecommerce platform with PayPal. You will need:
- Partner
- Merchant login
- User
- Password
- The exact integration process will vary by ecommerce platform, but typically you will need to input the above information to link to PayPal Payflow.
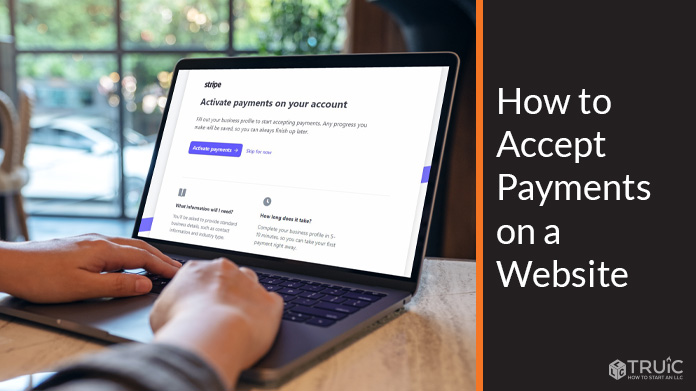
Stripe
Stripe is another major payment gateway option. Stripe and Shopify can both serve as payment gateways, but they each have a different focus. Stripe is focused purely on helping businesses accept and process online payments.
Even if you have a Shopify store but choose not to use Shopify Payments as your payment gateway,, Stripe is a great option. Stripe integrates seamlessly with Shopify stores and other website builders to provide payment options to your visitors. Whatever device the customer is using, Stripe adapts to allow payments.
Stripe does not charge monthly fees or setup fees. Instead, you pay a flat 2.9% plus 30 cents per transaction.
To use Stripe as your payment gateway:
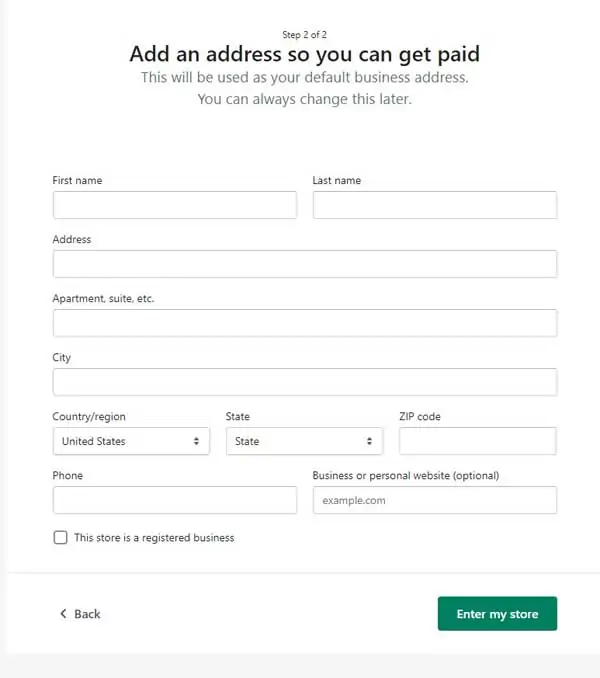
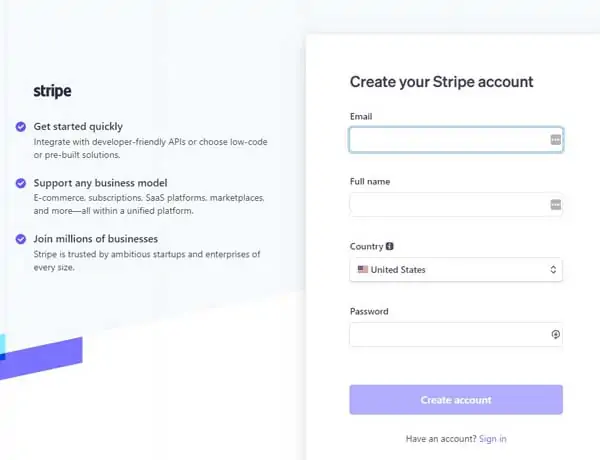
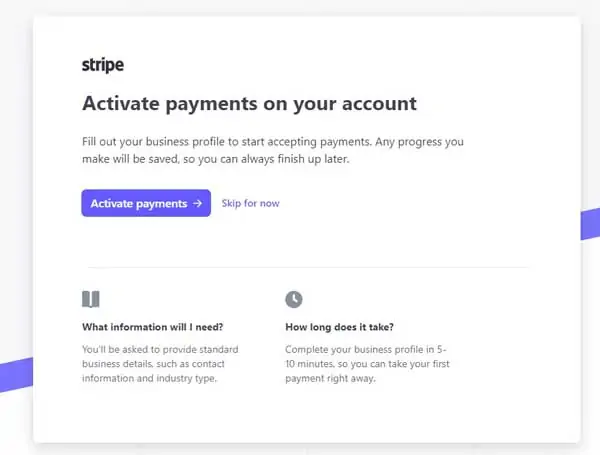
- Create a Stripe account.
![How to accept payments online.]()
- Follow the prompts to activate payments on your account. This will include adding your business information and personal contact information, as well as linking a bank account.
![How to accept payments online.]()
- Once you are set up to accept payments, follow the instructions from your ecommerce platform to add your Stripe account to your website.
Step 3: Setting Up Direct Debit
Direct debit is another payment option that you can use — but keep in mind that it can slow down the ecommerce process. While it can sound appealing to transfer money directly from one bank account to the other, in reality, the process is slow and inferior to credit and debit card payments for business purposes. Bank-to-bank transfers via direct debit payments can take up to four days for notifications to arrive that the payment succeeded or failed, which increases the likelihood of disputes and other issues.
Direct debit is one of the categories of the Automated Clearing House (ACH) system, which is a payment system that regulates digital transfers between consumers, businesses, banks, and other institutions. Many payment gateways will allow you to accept ACH direct debit payments. For example, you can use Stripe Checkout to accept payments with ACH direct debit.
Step 4: Using eChecks
For those looking to set up online payments without dealing with cards or cash, eChecks are a viable option. These eChecks are a type of electronic funds transfer (EFT) that takes the place of paper checks. ACH is the standard for eChecks just like direct debit. The ACH offers same-day and next-day eCheck transfers, which is much faster than paper checks — just not quite as fast as credit and debit cards.
Like direct debit, you can accept eChecks through your payment gateway.
Step 5: Integrating Mobile Wallet Payments
The newest forms of payments are found in mobile or digital wallets — payments like Apple Pay and Google Pay. Accepting mobile wallet payments is a must for small businesses because they are so easy for customers to use. Customers can pay with their smartphones, smartwatches, and through their web browsers, all with the same login information. The easier you make it to pay for your goods or services, the better.
Most ecommerce platforms and payment gateways will give you a way to accept Apple Pay and Google Pay without having to engage a third-part option.
Step 6: Sending Invoices
Sending invoices and getting paid has never been easier. Automated invoice services, including many of the payment gateways and ecommerce platforms listed above, allow invoice recipients to pay with the click of a button. The paperwork is more easily managed as well, tracking all the important data about your invoices and storing it in a manner that’s easy to access.
There are numerous services available that will automate invoicing for your business like PayPal and Stripe. However, for small businesses that don’t invoice clients on a regular basis, the all-in-one payment processing services offered by companies like Shopify and Stripe are sufficient.
Step 7: Setting Up Recurring Billing
Recurring billing can save you a lot of time if you can predict when you need to send bills. Billing is slightly different from invoicing, although the terms are sometimes used interchangeably. Invoicing is usually for goods or services sold on credit, while billing is for up-front purchases and is done immediately. Most payment gateways make it easy to set up recurring billing.
If you run a membership website, you might find recurring billing a huge time saver. Payment gateways like Shopify, PayPal, and Stripe all offer straightforward recurring billing solutions. For example, Shopify calls recurring billing “Subscriptions” and provides a special app to set up recurring orders for customers.
Moving Forward
You now know how to set up a payment gateway to accept online payments for your business website. Most payment gateways make it easy to accept all of these payments in one simple solution. Shopify lets you accept credit and debit cards, ACH payments, send invoices, set up recurring subscription payments, and more. The same is true for some of the other platforms we mentioned.
Because all-in-one payment platforms are so user-friendly, we recommend small business owners start there. Our favorite is Shopify because it serves as your ecommerce platform and payment gateway. We encourage you to check it out and take Shopify for a test run. You are likely to appreciate what you find.
Get Started With Shopify
Shopify supports the ability to send recurring orders, create invoices, and offer subscriptions. This ecommerce platform has everything you need to build a successful online store.


